“Can you bake pitas, too?” Kathryn, the owner of A&B Naturals in Bar Harbor, asked me one day. I had never made them, so I said with conviction: “Yes!”
At least I knew where I could find a recipe!
In “Whole Grain Breads“, one of my favorite baking books, Peter Reinhart has a formula for whole wheat pitas. That was my starting point.
Mixing pita dough is the easy part – the real challenge is baking them. It’s all about the heat!
Many cheaper ovens don’t reach the necessary temperature of 550ºF (280ºC.) Without that boost pitas can’t produce the large gas bubble that creates a pocket. And this heat has to be maintained during the whole bake!
A piping hot baking stone helps the pitas to puff up and, also, keeps the temperature stable, even when the oven door has to be opened several times during the baking process.

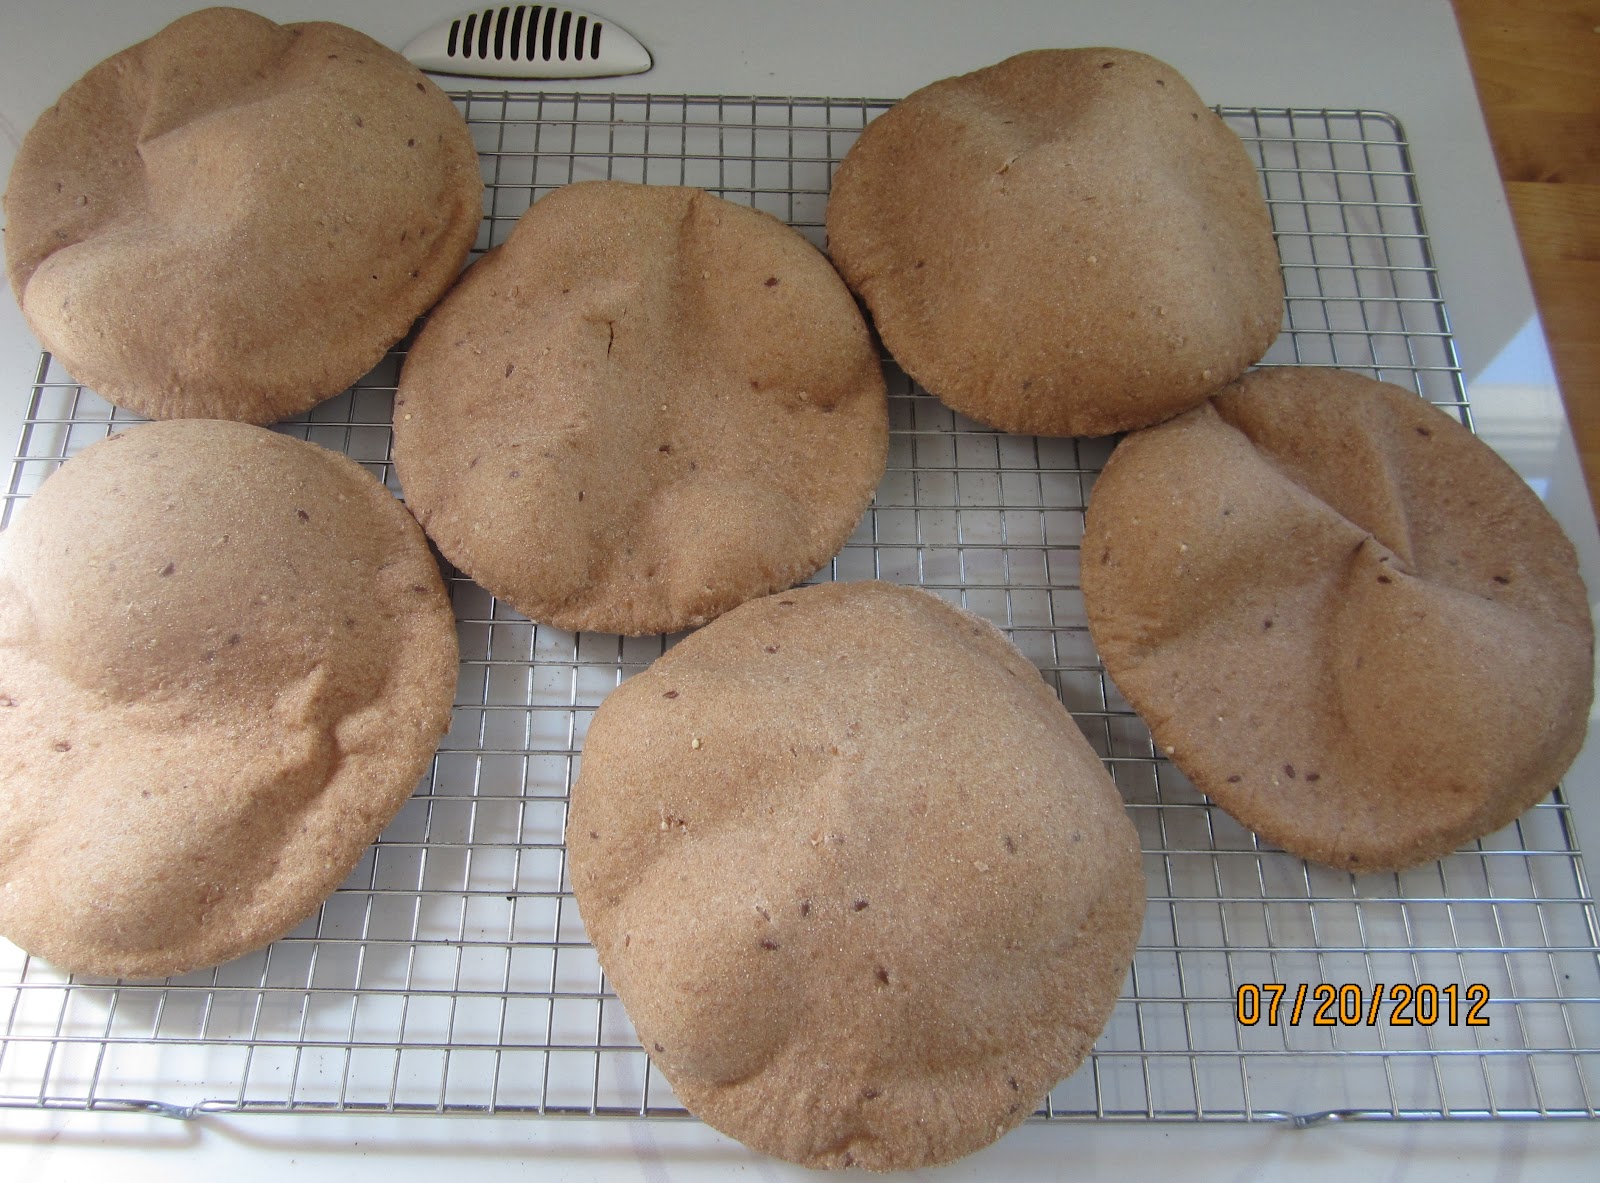
How many pitas can you bake at the same time? After some trials, I found that I can put two at the same time in the oven. With more it becomes very difficult to get them in and out without damage, and to keep control over their baking process.
It takes a little bit of practice, an energetic shove, and a well floured peel to slide the pitas into the oven.

But take heart, even a child can do it: Little Josh, our carpenter’s son, found baking bread much more fun than reading his book – he proved to be an excellent helper with the pitas.
Baking pitas every week for my customers, I changed the recipe over time, adapting it to sourdough as leaven, and adding a multigrain mixture.
A long, cold fermentation of the dough allows the harsh note of whole wheat to mellow. Store-bought whole wheat pitas often taste like cardboard – these have a pleasant sweetness.
Have you ever had Halloumi sandwiches? You don’t have to travel to Cyprus for this treat. Cut a pita in halves, stuff them with pan-fried Halloumi cheese, tomato and lettuce, and enjoy!
MULTIGRAIN PITAS WITH SOURDOUGH
(8 Pitas)
Starter Step 1
10 g starter (what you have)
23 g water, lukewarm
31 g whole wheat flour
Starter Step 2
64 g starter step 1 (all)
191 g whole wheat flour
143 g water
Multigrain Soaker
170 g whole wheat flour
57 g multigrain mixture (all kinds of cracked or rolled grains and seeds*)
4 g salt
172 g water
*)I keep a “catch-all” jar in my pantry, where I collect flakes or seeds that fell off other breads, and re-use those, too.
Final Dough
all soaker and starter
113 g whole wheat flour
1 g instant yeast
28 g honey or agave nectar
14 g extra-virgin olive oil
5 g salt
DAY 1:
In the evening:
For step 1, in small bowl, feed your usual starter with whole wheat flour and water. Cover, and leave at room temperature overnight.

DAY 2:
In the morning:
For the step-2 starter, add water and flour to bowl with refreshed starter, stirring until no dry bits remain (I use a Danish dough whisk). Cover, and let stand at room temperature.
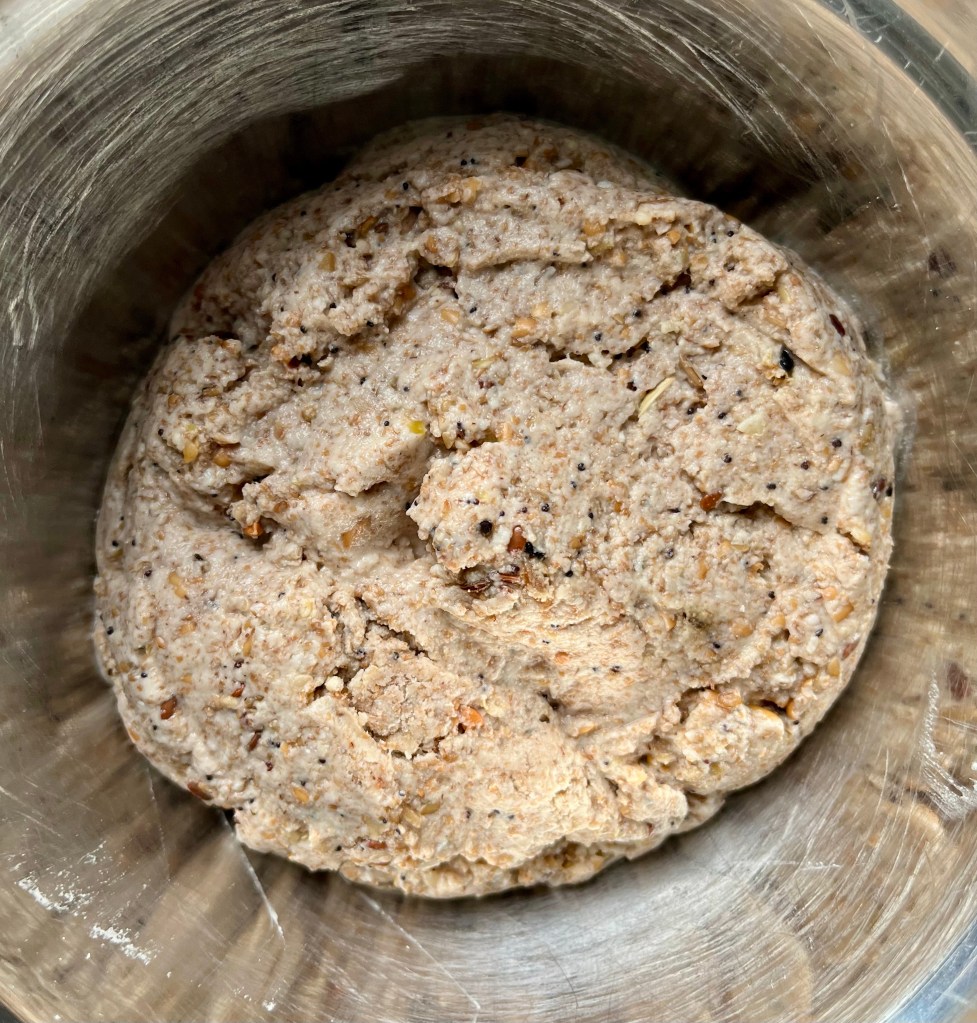
In another small bowl, stir together all ingredients for multigrain soaker. Cover, and leave at room temperature.
In the evening:
Mix all final dough ingredients at low speed, (or with Danish dough whisk or by hand) for 1-2 minutes, until combined. Knead at medium-low speed (or by hand) for 4 minutes (dough should be tacky, but not sticky. If necessary, adjust with a little extra water or flour.)
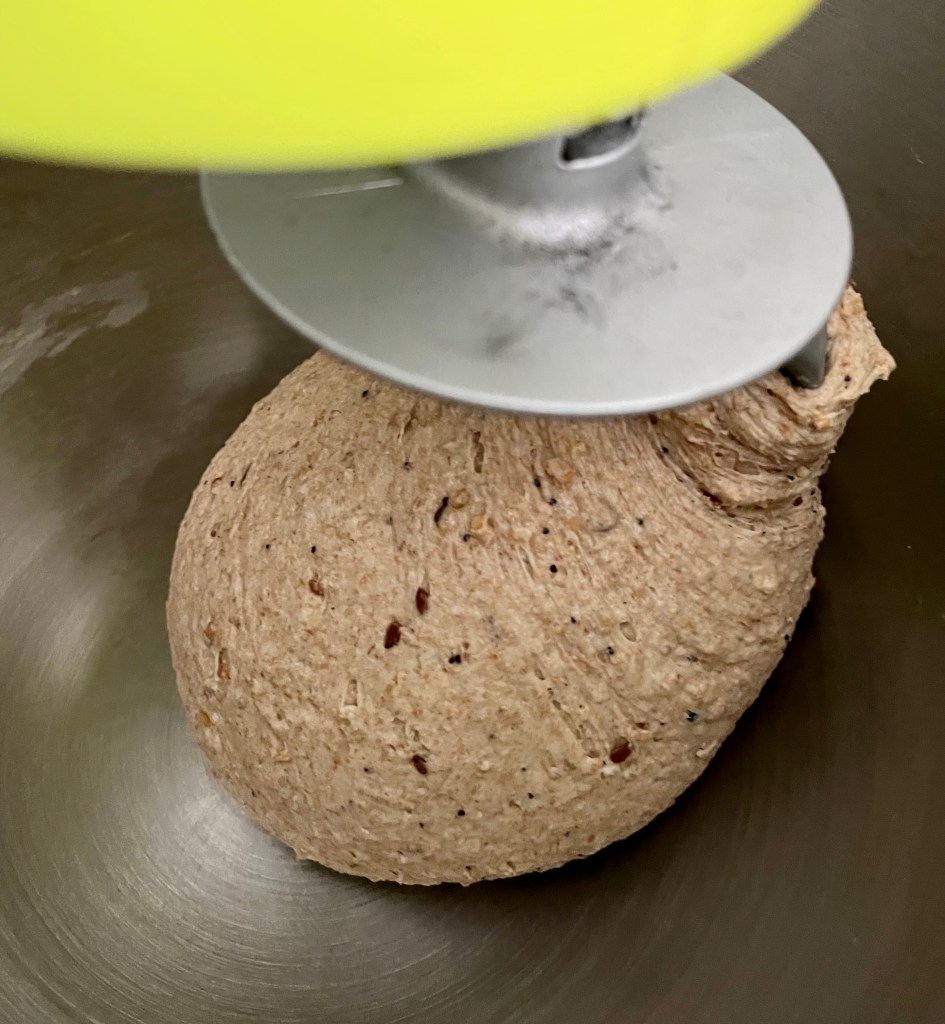
Let dough rest for 5 minutes, then knead for 1 more minute (dough should pull back from bowl but still be tacky). Transfer dough to oiled bowl or container, turning it around to coat with oil.
Cover bowl or container, and place it in refrigerator overnight. (Dough can be shaped cold the next morning.)
BAKING DAY:
Preheat oven as high as possible, usually 550ºF (280ºC), with baking stone in upper third of oven.

Transfer dough to lightly floured work surface. Divide it into 8 equal pieces (ca. 120 g). Shape pieces into rounds, turn them seam side down, cover, and proof for 45-60 minutes, or until rolls have grown to 1 1/2 times their original size. (Finger poke test: a dimple, made with your finger, should still be elastic, but not fill completely up again).

Dust rolls with whole wheat flour. With a few strokes, roll each piece to a roughly 4-inch (10 cm) disk (for convenience, stack them into a pile).
After all pieces are pre-rolled, flip stack around (so that the first disk is on top again ). Re-roll each disk to 6 1/4 – 7 inches (16-18 cm) diameter and 1/4-inch (6 mm) thickness. Place them (next to each other) on a floured or parchment lined surface, cover, and let them rest for 15 minutes.


To make sure baking stone is really hot, you can set oven briefly to broil, then switch back to baking mode.
Dust peel with flour (semolina or cornmeal works best.)
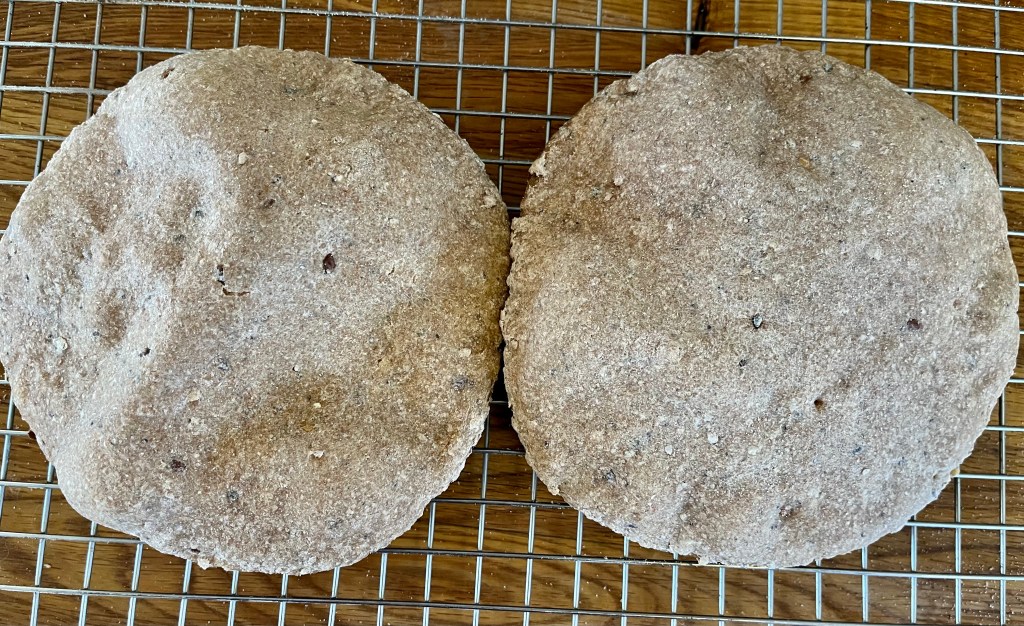
Place maximal 2 pitas, side by side, on peel, and, with an energetic shove, slide them onto hot baking stone (if you are too timid, they might end up half on the stone, half hanging down).
Now watch pitas closely through oven window! After about 2 minutes, they will start growing large bubbles, then puff up like a balloon. When they stop inflating, give them another 20 seconds, and they are done (they should stay soft.)
Using peel, remove pitas from oven and transfer to wire rack.
Repeat baking process with remaining pitas, always waiting for the oven to heat up again (switch briefly to broil again after taking one batch out, if your oven takes too long.)

Storage:
Place pitas in a plastic bag, so that they stay soft and don’t dry out. They keep for a few days at room temperature. Pitas also freeze well – wrap them individually in plastic foil, place in a freezer bag and store them in the freezer.
Note: Updated and completely re-written post (originally published June 2012)

Well, was I happy to see your post or what!! These look great and i will be making them. Just had company from Germany and my son’s partner and I talked bread and bread books for 2 whole days 🙂 she is a terrific bread baker. No flour on the shelves for 2 weeks before they came, she found a mill and ordered 25 kg Dinkel and 25 kg white. Took 3 weeks but by the time they got home it was there. so happy!!
Thank you again for a great post.
LikeLiked by 2 people
Thanks, Susan! That makes me happy, too. I just made a batch of these for us, and worked them in a pita chickpea salad (fatteh). They also make great pita chips, sprinkled with za’atar and sumac.
LikeLiked by 1 person
I have never made them but I will some day. I saw a video of someone making these and what fun! Thank you for your recipe Karin.
LikeLike
Please, do! I think they taste much better than store-bought ones. The whole wheat really benefits from longer fermentation.
LikeLike